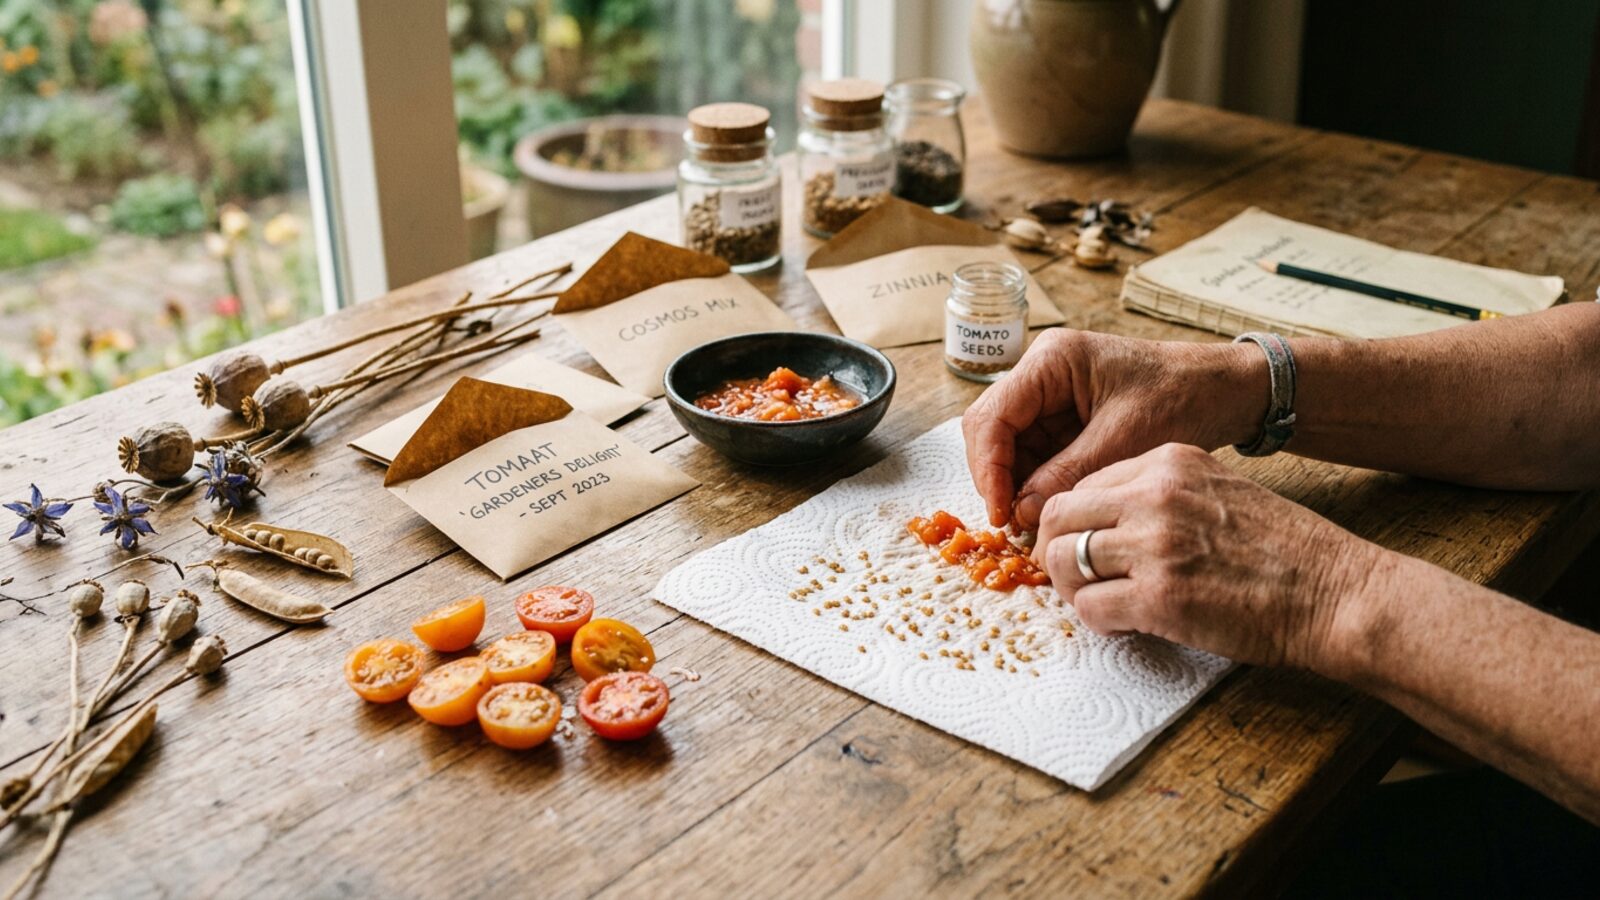
Saving Your Own Seeds: From Tomato Seed to a World of Varieties
(Start of the article)
Have you ever tasted a sun-ripened tomato straight from the vine and thought that this flavour is priceless? Or grown an almost-forgotten bean variety from your grandmother and delighted in the abundant harvest and its special colour? Such moments hold more than just the pleasure of the present. They are a connection to a cycle that has formed the foundation of our food for thousands of years – the cycle of seed, growth, harvest and new seed.
Most of us end this cycle with the harvest. Every spring we buy new seeds, often without questioning where they come from or what story they carry within them. Yet the true treasure of gardening lies in closing this cycle. Saving your own seeds is not a relic of bygone days, but a highly relevant and deeply satisfying skill. It is an act of independence, a contribution to biodiversity and a way to adapt your plants perfectly to your own garden. Dive with us into the fascinating world of seed saving – you will discover that it is easier than you think.
Why save your own seeds? More than just a gesture of thrift
The decision to save your own seeds can be made for many reasons. While saving money is an obvious benefit, the true motivations run far deeper and touch the very essence of what gardening is all about.
Preserving and discovering the diversity of varieties
Supermarket shelves reflect only a fraction of the diversity that would be possible. Hundreds, if not thousands, of vegetable and fruit varieties have vanished from the scene in recent decades, displaced by a handful of industrial varieties optimised for transportability and uniform appearance. By growing and propagating old, regional or rare varieties in your garden, you become a "variety guardian". You preserve a cultural and culinary heritage while discovering a world full of new flavours, shapes and colours that you cannot buy in any shop.
The difference: open-pollinated varieties vs. F1 hybrids
This is perhaps the most important point for aspiring seed gardeners. When you buy seeds, pay attention to the designation:
- Open-pollinated varieties (heirlooms): These varieties are the result of traditional breeding over many generations. When you save seeds from them, the following year they produce plants with the same characteristics. They are "true-to-type". Only with open-pollinated varieties is true-to-type propagation possible in your own garden.
- F1 hybrids: These varieties are created through the deliberate crossing of two true-breeding parent lines. The first generation (F1) is often particularly vigorous and high-yielding (the heterosis effect) and very uniform. The catch: if you save seeds from these plants, the next generation (F2) splits into a multitude of different forms. The positive traits of the F1 generation are lost. F1 seeds must be bought anew each year from seed corporations, which creates dependency.
For saving your own seeds, therefore, only open-pollinated varieties are suitable.
Regional adaptation and resilience
A plant is not merely its genetic code; it is also a product of its environment. When you grow an open-pollinated variety in your garden over several years and always take seeds from the healthiest, strongest and most adaptable plants, you are carrying out deliberate selection. The variety gradually adapts to your specific microclimate, your soil and the local pests and diseases. Your own "farm variety" becomes more robust and resilient than seeds produced in a completely different climate.
Independence and seed sovereignty
Today, a few global corporations control a large share of the world's seed market. By saving your own seeds, you make yourself somewhat independent of this system. You decide for yourself what to grow and are not reliant on the industry's offerings and pricing policy. This idea of "seed sovereignty" is a grassroots movement that defends and promotes the right of farmers and gardeners to free seeds. Everyone who saves their own seeds makes a small but important contribution to it.
The biology of the flower: self-pollinators vs. cross-pollinators
To save seeds successfully, you need to understand the "love lives" of your plants. The secret lies in the flower and the type of pollination.
The uncomplicated self-pollinators
These plants are ideal for beginners. Their flowers are structured so that they usually pollinate themselves, often even before the flower has fully opened. The pollen of a flower fertilises its own stigma. The risk of crossing with other varieties of the same species is therefore very low.
- Typical self-pollinators: tomatoes, bush and pole beans, peas, most lettuces, chillies and peppers.
- Your advantage: you can grow different varieties of these plants relatively close together and still harvest true-to-type seeds. Crossing by insects is not 100% ruled out, but it is rare.
The sociable cross-pollinators
These plants depend on outside help. Their pollen must be transported from one plant to another, either by the wind (wind pollinators) or by insects (insect pollinators). This also means, however, that the pollen of one variety can easily reach the flower of another variety of the same plant species.
- Typical cross-pollinators: all cucurbits (courgette, squash, cucumber, melon), all brassicas (white cabbage, red cabbage, kohlrabi, broccoli, etc.), maize, carrots, beetroot, spinach, onions.
- The challenge: if you grow, for example, a courgette variety 'Zuboda' next to a Hokkaido squash, the bees will carry the pollen back and forth between them. The seeds from the fruit will, the following year, produce plants that are an unpredictable mixture of both parents – often inedible or oddly shaped. All cucurbits of the species Cucurbita pepo (which includes most courgettes, patty pans, oilseed pumpkins and spaghetti squash) can cross with one another. Likewise, all brassicas of the species Brassica oleracea cross with each other.
The key to success: avoiding cross-pollination
With cross-pollinators you have to take action in order to obtain true-to-type seeds. There are proven methods for this.
Spatial isolation
The safest method is distance. By maintaining a sufficient minimum distance between two different varieties of the same species, you drastically reduce the likelihood of cross-pollination. The distances vary according to the type of pollination.
| Crop | Family/Species | Type of pollination | Isolation distance for purity |
|---|---|---|---|
| Cabbage | Brassica oleracea | Cross-pollinator (insects) | 500 m – 1000 m |
| Squash/Courgette | Cucurbita pepo | Cross-pollinator (insects) | 500 m – 1000 m |
| Carrot | Daucus carota | Cross-pollinator (insects) | 800 m – 1500 m (also crosses with wild carrot) |
| Maize | Zea mays | Cross-pollinator (wind) | 1000 m – 2000 m |
| Beetroot/Chard | Beta vulgaris | Cross-pollinator (wind) | 1000 m – 2000 m |
| Radish | Raphanus sativus | Cross-pollinator (insects) | 400 m – 800 m |
These distances are barely achievable in a home garden. But don't worry, there are more tricks:
- Growing tip for the home garden: each year, grow only one variety of a given cross-pollinating species for seed propagation. So if you want to save seeds from Hokkaido squash, do not grow any courgettes or other squashes of the species C. pepo that year.
Temporal and mechanical isolation
- Temporal isolation: you can grow different varieties so that they flower at different times. This requires precise planning and knowledge of the varieties, however.
- Mechanical isolation: this is the most practical method for the home garden. You prevent the access of insects or the drift of pollen by means of physical barriers.
- Bags/pouches: with squashes and courgettes you can, in the evening, close off a male and a female flower that will open the next morning, using tape or a bag. In the morning you open both, pollinate the female flower by hand with the pollen of the male and immediately close the female flower again. Mark the fruit pollinated in this way!
- Isolation cages: for cabbage or carrots you can cover a group of plants of one variety with a fleece or gauze cage. For pollination you then deliberately place a few purchased bumblebees or flies into the cage.
Hands-on workshop: saving seeds step by step
Let's start with the easy candidates. Always select only fully ripe, healthy fruit that is typical of the variety, from the best plants in your stock.
The tomato: wet cleaning with fermentation
Tomato seeds are surrounded by a slimy layer (pulp) that contains germination-inhibiting substances. Fermentation breaks down this layer and at the same time kills off some seed-borne diseases.
- Harvest: choose an overripe but not rotten tomato of the desired variety.
- Scoop out: cut the tomato open and scrape the seeds together with the slime into a glass using a spoon.
- Ferment: add a small splash of water (just enough to cover the seeds). Label the glass with the variety and the date! Leave it for 2–3 days at room temperature in a shady spot. Stir once or twice a day. It will begin to ferment and smell slightly unpleasant. A film of kahm yeast often forms on the surface.
- Clean: once the seeds have separated from the slime and sunk to the bottom of the glass (the good seeds are heavier), the process is finished. Pour off the upper liquid along with the mould layer and the dud seeds. Add fresh water, stir, let the good seeds sink and pour off again. Repeat this until the water is clear and only clean seeds remain in the glass.
- Dry: pour the seeds through a fine sieve and spread them out on a coffee filter, a plate or a piece of baking paper. Not on kitchen paper, as they will stick! Let them dry in an airy, shady place, turning them occasionally so they do not clump together. After 1–2 weeks they are "rustling dry" and ready for storage.
The bean: dry cleaning for legumes
With beans and peas the process is extremely simple, because nature does most of the work.
- Let them ripen fully: leave the pods on the plant until they are completely dry, brown and brittle. You should be able to hear the seeds rattling inside.
- Harvest: harvest the dry pods on a dry day, ideally around midday, so that there is no residual moisture. If the weather turns, you can pull up the whole plants and hang them in a dry, airy place (e.g. attic, shed) to ripen further.
- Threshing: open the pods by hand and collect the beans. For larger quantities you can fill the pods into a jute sack and trample on it or beat it with a stick.
- Cleaning & post-drying: blow away the light pod remnants (traditionally in a shallow bowl in a gentle breeze). Spread the bean kernels out for another 1–2 weeks in a dry place to make sure they really are completely dried through. An insufficiently dried kernel can destroy an entire seed batch through mould!
The lettuce: waiting for the dandelion clock
Saving lettuce seed requires a little patience and good timing.
- Let it bolt: normally we want to prevent "bolting" (the formation of flowers). For seed saving, however, it is desirable. Choose a fine head of lettuce and simply leave it standing. It will form a tall flowering shoot.
- Flowering & ripening: from the shoot many small, mostly yellow flower heads develop, similar to those of the dandelion. After flowering, the seeds form, each carrying a small, white parachute (the so-called "pappus").
- Harvest: the right time to harvest is when most of the flower heads have turned into white, fluffy "dandelion clocks". But be careful: the wind can quickly blow your harvest away!
- Method 1: cut off the whole seed heads when about half of the seeds are ripe, and hang them upside down in a large paper bag to finish drying. The seeds then fall into the bag of their own accord.
- Method 2: go to the plants every few days and gently shake the ripe seed heads over a bowl.
- Clean: rub the dried seed heads between your hands to separate the seeds from the pappus and other plant debris. By sieving and gentle blowing you can clean the seed.
The treasure chamber: storing seeds correctly
The best seed is worthless if it is stored incorrectly. The three golden rules for storage are: cool, dry and dark. Any moisture, warmth or light can break dormancy or prematurely use up the life energy of the seeds.
- Packaging: paper bags, coffee filters or small labelled envelopes are ideal, as they are breathable. For longer, hermetically sealed storage, screw-top jars are suitable. In that case, add a sachet of silica gel (from electronics packaging) or a little milk powder in a small cloth bag to absorb residual moisture.
- Labelling: the most important thing of all! Note at least the plant species, variety and year of harvest.
- Storage location: a cool cellar, a frost-free garage or even the vegetable drawer of the fridge (in an airtight container) are good places.
Germination capacity declines over the years, but depending on the species, seeds remain viable for different lengths of time.
| Crop | Average germination capacity (in years) |
|---|---|
| Tomato, cucumber | 5 - 10 |
| Bean, pea, squash | 3 - 6 |
| Cabbage, radish | 4 - 5 |
| Lettuce, pepper | 2 - 4 |
| Carrot, onion, parsnip | 1 - 2 |
These values are guidelines. Under optimal storage, germination capacity can be retained considerably longer. (Source: practical experience and literature, e.g. from "Arche Noah")
A network of knowledge: sharing and swapping seeds
You are not alone in your passion. In Germany, Austria and Switzerland there is a growing community of seed enthusiasts. Organisations such as the VEN (Verein zur Erhaltung der Nutzpflanzenvielfalt) e.V. in Germany or Arche Noah in Austria do invaluable work for the preservation of diversity. In late winter or early spring, visit regional seed festivals and swap markets. There you can not only discover and swap rare varieties, but also take home an endless amount of knowledge from experienced gardeners.
Saving your own seeds is a journey that brings you closer to your garden and your food in a new, deeper way. It connects you with the past and lets you actively shape the future of your garden.
Start small! For a beginning, choose a simple crop such as beans or one of your favourite tomatoes. You will see how much pride and joy it brings to hold a packet of self-harvested seeds in your hands the following spring. To keep track of all the old treasures and new experiments, good documentation is worth its weight in gold. Make a note of which variety you harvested when and how it behaved in cultivation. Tools such as a digital PermaNatura can help you to record your personal variety history over the years and to optimise your growing plans. Which variety will you propagate next? Share your experiences in the comments!
(End of the article)
Comments (0)
Sign in to comment.
📖 You might also like
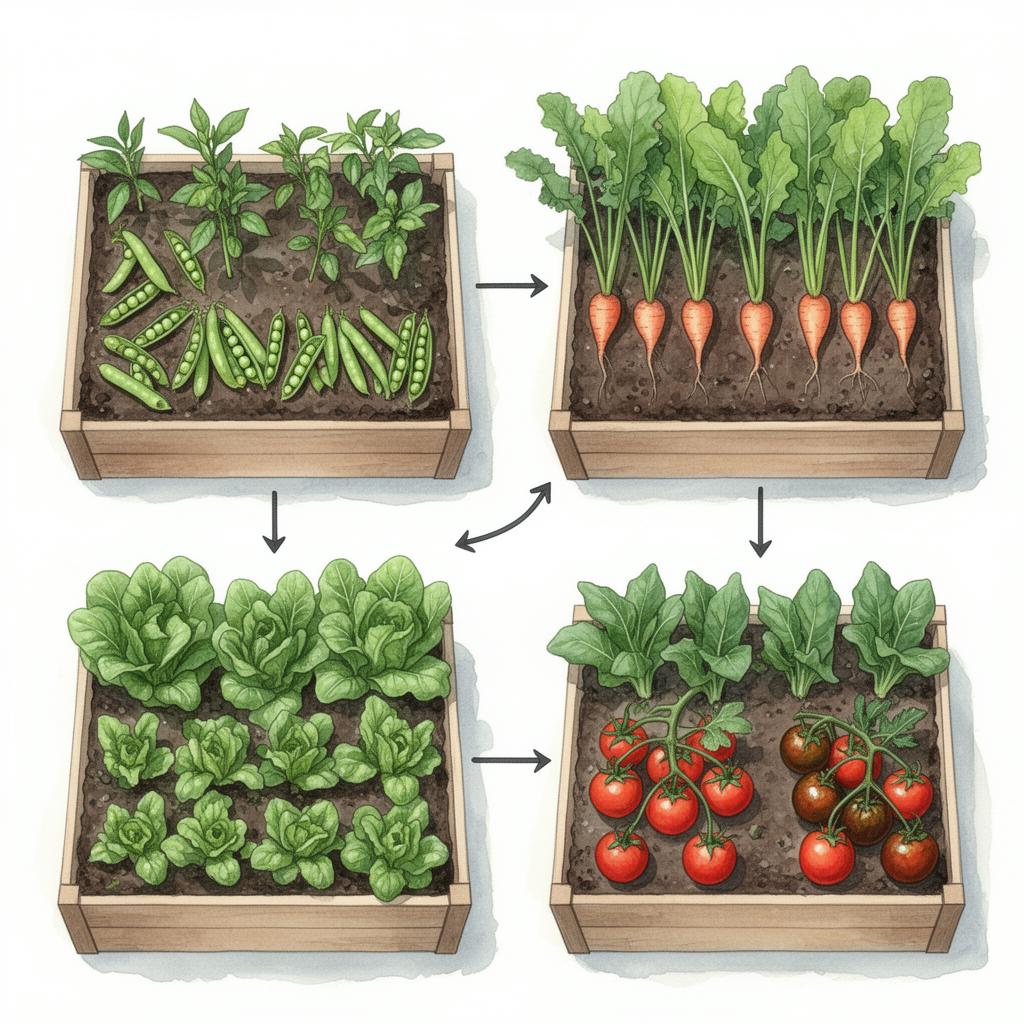
Which app to plan a vegetable garden? The honest 2026 comparison
You want to plan your vegetable beds digitally but aren't sure which app is right? This comparison shows what really matters – from companion planting and the sowing calendar to data privacy – and which type of gardener each solution suits.
Read more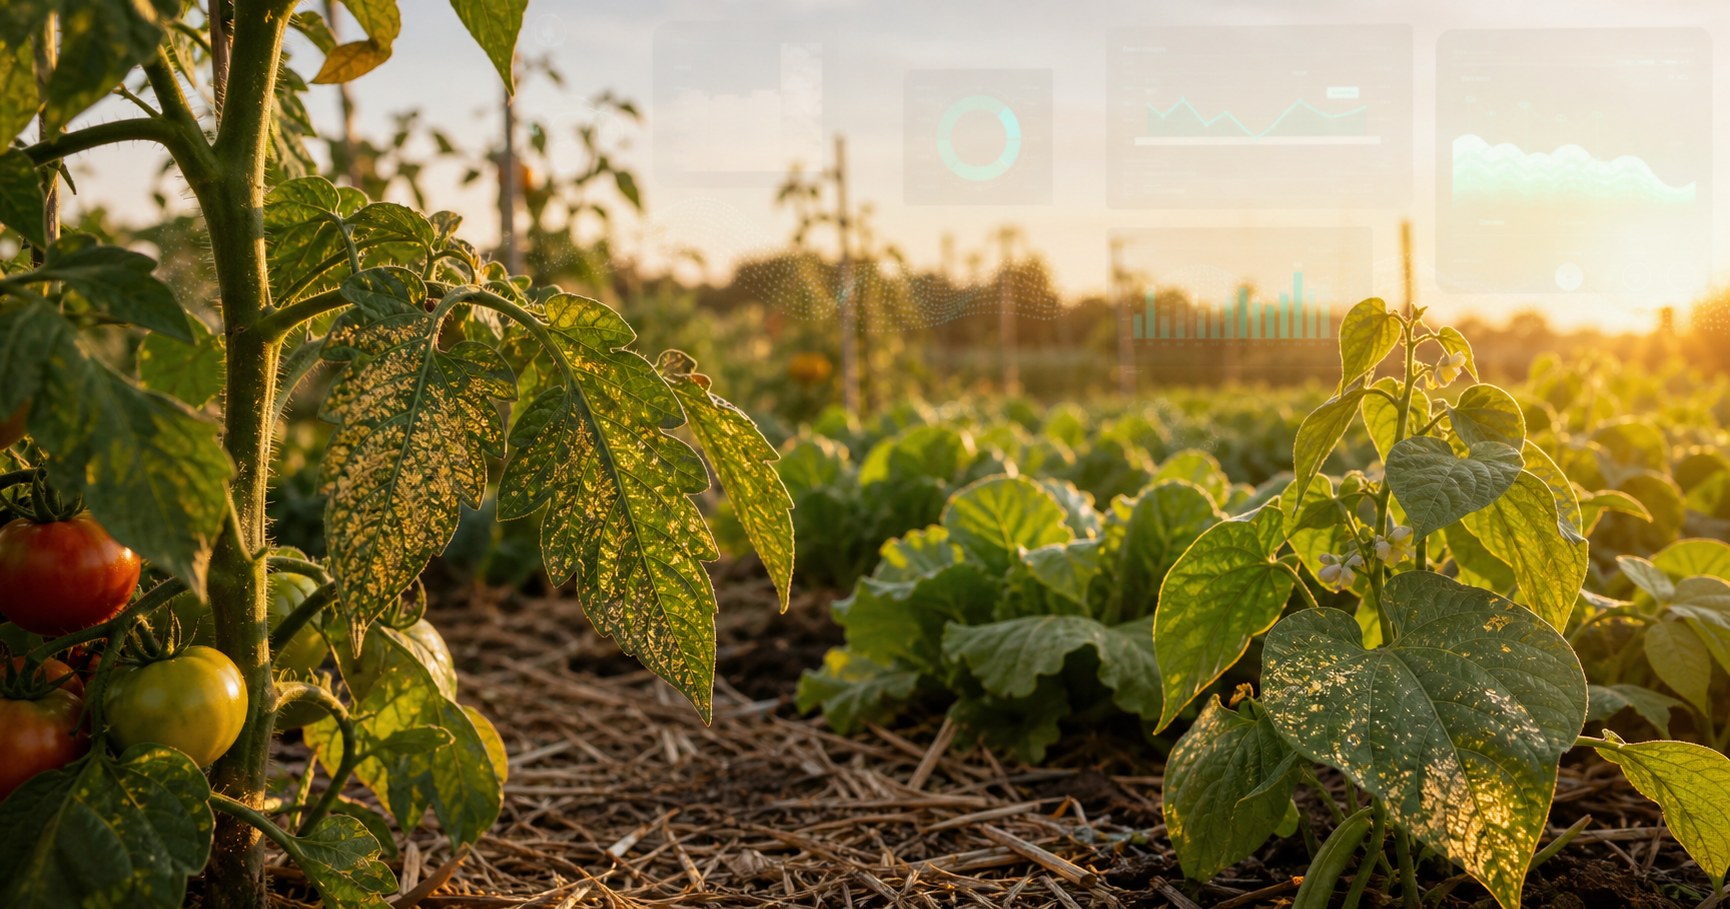
Ozone Stress in the Garden 2026: The Invisible Heat Damage on Tomatoes, Beans and Leafy Greens
When heat, strong sun and stagnant air come together, ground-level ozone can damage plant cells. Learn how to recognise ozone stress, separate it from drought, and protect your beds.
Read more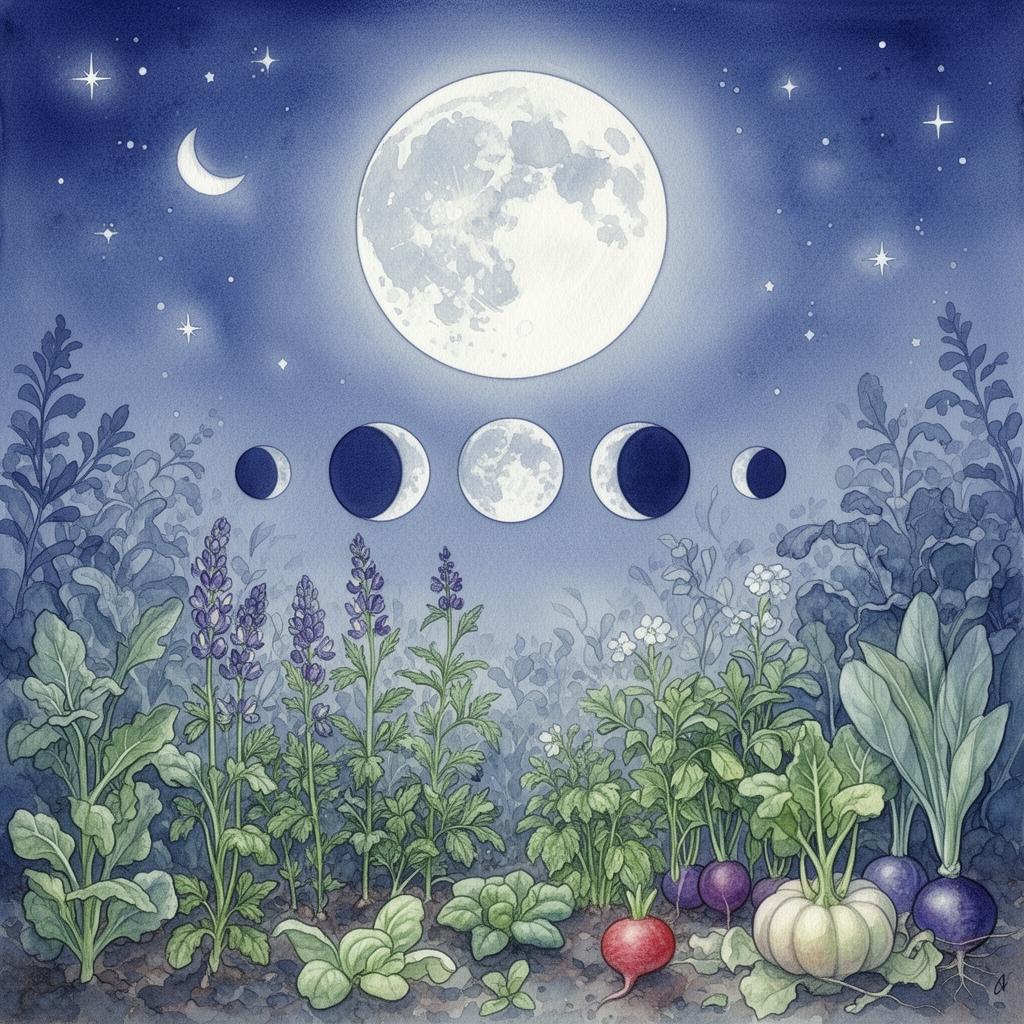
Full Moon Meets Heatwave: What Your Garden Needs on This Special Night
Tonight the Moon is almost full – and the heatwave is still here. Two forces pull at the garden. What lunar tradition says, what the heat demands, and how to bring them together wisely.
Read more