
Build Your Own Raised Bed: Instructions, Materials and the Perfect Filling
Why a Raised Bed Will Change Your Gardening Life
Raised beds are the megatrend in gardening for good reason. They offer ergonomic working, better yields and work on almost any surface – from a city balcony to an allotment garden.
The 7 Biggest Benefits
- Back-friendly: Working height of 80–100 cm
- Warmth bonus: 5–8 °C warmer than ground-level beds → earlier sowing
- Fewer slugs: The height and an optional slug guard provide protection
- Better soil: You determine the soil quality yourself
- Space miracle: Intensive planting on a small area
- Longer season: Harvest possible from March to November
- Possible anywhere: Terrace, balcony, driveway – all work
The Right Location & Base
Before you build, the location decides the yield. Most vegetables need at least 6 hours of sun per day – so choose a spot that is as sunny and sheltered from wind as possible, with a short path to a water tap.
Orientation: Position the raised bed with its long side running north–south. That way all plants get even light and don't shade each other.
Depending on the base:
- Lawn/garden soil: Ideal. Cut away the turf and loosen the soil so earthworms and roots stay connected to the ground below. A vole mesh on the base protects against rodents.
- Patio/paving: Stand the bed on spacers (e.g. rubber feet) so excess water can drain and the wood doesn't sit permanently wet.
- Balcony: Mind the weight. A filled raised bed quickly weighs several hundred kilograms – check the load capacity (often 300–400 kg/m²) and place it against a load-bearing wall or in a corner.
- Sloping ground: Terrace the base level or compensate with point foundations. A tilted bed waters unevenly.
An elaborate concrete foundation is not needed – all that matters is a level, load-bearing stand.
Materials Compared
| Material | Durability | Cost | Appearance | Sustainability |
|---|---|---|---|---|
| Larch | 10–15 years | Medium | Naturally warm | ⭐⭐⭐⭐ |
| Douglas fir | 8–12 years | Medium | Natural | ⭐⭐⭐⭐ |
| Oak | 15–25 years | High | Elegant | ⭐⭐⭐⭐⭐ |
| Pallets (recycled) | 3–5 years | Low | Rustic | ⭐⭐⭐ |
| Corten steel | 30+ years | High | Modern-industrial | ⭐⭐⭐ |
| Stone/gabions | 50+ years | High | Solid | ⭐⭐⭐⭐ |
| WPC | 20+ years | Medium-High | Uniform | ⭐⭐ |
Important: Never use pressure-treated wood (greenish) – the chemicals leach into the soil and thus into your vegetables!
Building Instructions: Raised Bed from Larch Wood
What You Need
Material (for a bed 200 × 80 × 80 cm):
- 12 larch boards (200 × 20 × 3 cm)
- 12 larch boards (74 × 20 × 3 cm)
- 4 square timber posts (8 × 8 × 80 cm)
- Stainless steel screws (5 × 60 mm)
- Pond liner or dimpled membrane (3 m²)
- Vole mesh/aviary wire (2 m²)
Tools:
- Cordless screwdriver
- Spirit level
- Folding ruler
- Jigsaw (if needed)
- Staple gun
Step by Step
1. Prepare the Foundation
Level the ground and, on soft soil, place paving stones or walkway slabs as support points. Important: The raised bed must stand level!
2. Screw the Frame Together
Place the posts in the corners and screw the boards onto the posts from the outside. Work from bottom to top, with 3 boards per layer and side. Pre-drilling prevents cracks in the wood.
3. Lay in the Vole Protection
Place the wire mesh on the ground and pull it up 10 cm on the sides. Fix it in place with staples.
4. Attach the Inner Liner
Fasten the dimpled membrane to the inner walls (not on the bottom!). This protects the wood from moisture and considerably extends its lifespan.
5. Filling (see next section)
The Perfect Raised Bed Filling
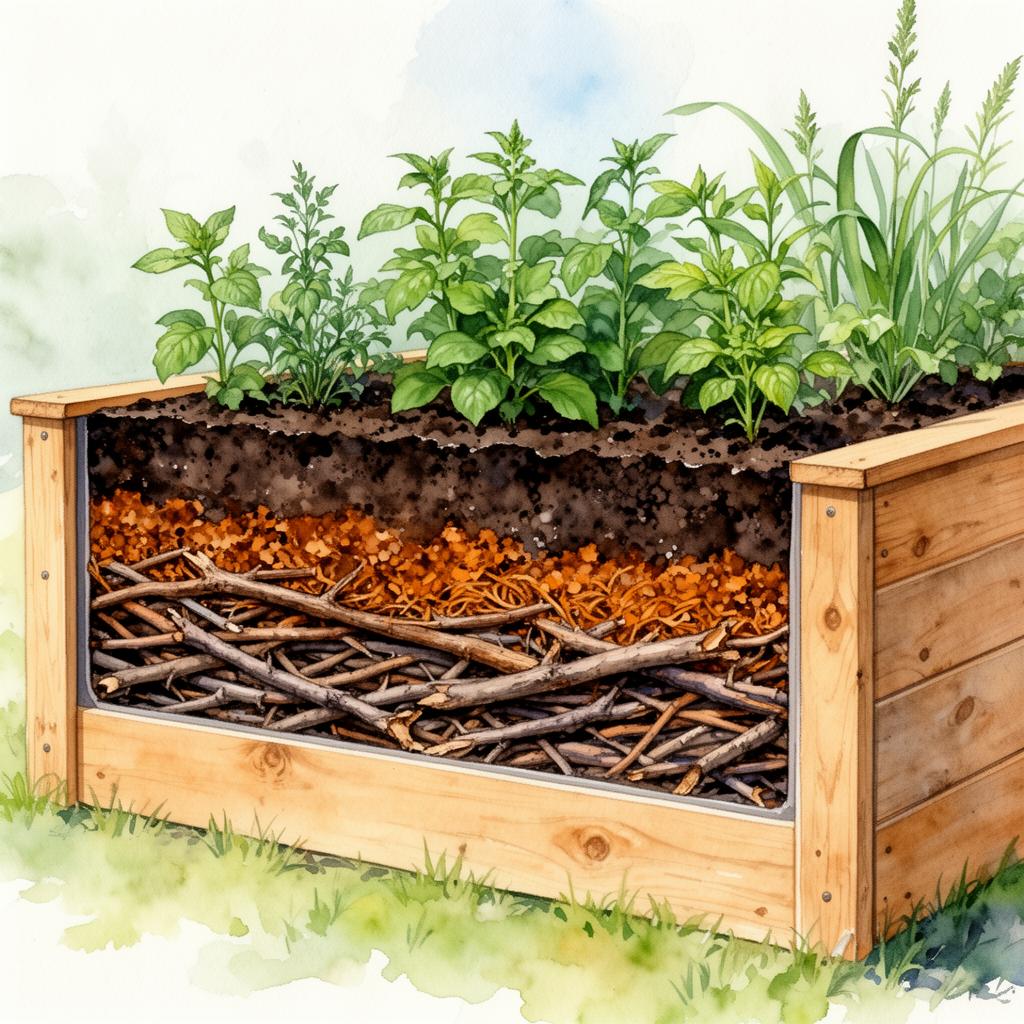
The secret to a productive raised bed lies in the layering. From bottom to top:
🪵 Layer 1: Drainage (20 cm)
Coarse branches, tree cuttings, wood chips. Ensures aeration and slow nutrient release over years.
🍂 Layer 2: Green Cuttings (15 cm)
Upturned turf sods, coarse hedge trimmings, leaves. Begins to decompose quickly and generates warmth.
🌿 Layer 3: Raw Compost (15 cm)
Half-finished compost, horse manure, grass clippings. The main engine of nutrient supply.
🪴 Layer 4: Fine Compost (10 cm)
Finished, sieved compost. Rich in humus and microorganisms.
🌱 Layer 5: Planting Soil (20 cm)
High-quality organic planting soil, mixed with compost (2:1). This is where your plants take root.
Settling effect: The bed sinks by 15–20 cm in the first year. Top it up with compost and soil in autumn.
How Much Soil Do You Need? Calculating the Fill
The most common question before the first filling: how much material fits inside? The formula is simple:
Length × Width × Height (in metres) = Volume in cubic metres (m³) m³ × 1000 = litres
Example for our bed (2.00 × 0.80 × 0.80 m): 2.0 × 0.8 × 0.8 = 1.28 m³ ≈ 1,280 litres total volume.
Split across the five layers (with a 1.6 m² footprint):
| Layer | Height | Amount |
|---|---|---|
| Drainage (branches/chips) | 20 cm | ~320 L |
| Green cuttings | 15 cm | ~240 L |
| Raw compost | 15 cm | ~240 L |
| Fine compost | 10 cm | ~160 L |
| Planting soil | 20 cm | ~320 L |
| Total | 80 cm | ~1,280 L |
Tip: You only really need to buy the top ~30 cm (fine compost + planting soil, about 480 L) – the lower layers are filled almost for free with garden and hedge cuttings. Allow 10–15 % extra soil for the settling effect.
Planting Plan for the First Year
In the first year the nutrient content is at its highest → plant heavy feeders!
Spring (March–April)
- Lettuce, radishes, kohlrabi (under fleece)
- Cut-and-come-again lettuce as a gap filler
Early Summer (May–June)
- Tomatoes, zucchini, cucumbers
- Bell peppers and chillies (sheltered location)
Midsummer (July–August)
- Add bush beans
- Basil between the tomatoes
Autumn (September–October)
- Lamb's lettuce, spinach, winter purslane
- Asian salads for the late harvest
Crop Rotation Over the Years
- Year 1: Heavy feeders (tomatoes, squash, cabbage)
- Year 2: Medium feeders (carrots, fennel, lettuce)
- Year 3: Light feeders (herbs, peas, beans)
- Year 4: Refill and repeat the cycle
Raised Beds in PermaNatura
With PermaNatura you plan your raised bed digitally: enter the dimensions, place plants via drag & drop and the Harmony Check instantly shows you which neighbours get along. The cell sizes adapt automatically to your raised bed dimensions.
Pro tip: Start with a single raised bed and gain experience. In the second year you can expand in a targeted way!
Frequently Asked Questions About Raised Beds
What do you need to build a raised bed? For a wooden raised bed you need untreated boards (e.g. larch), corner posts, stainless steel screws, dimpled membrane for the inner walls and a vole mesh for the base. For tools, a cordless screwdriver, spirit level and folding ruler are enough.
How do you fill a raised bed correctly? In layers from coarse to fine: branches and green cuttings at the bottom for drainage and warmth, raw and fine compost above, and 20 cm of high-quality planting soil on top. This layering feeds the plants for years.
How much soil do I need for my raised bed? Multiply length × width × height in metres for the total volume. A bed of 2.00 × 0.80 × 0.80 m holds about 1,280 litres – but you only need to budget the top ~30 cm as bought soil.
Which wood is best for a raised bed? Weather-resistant woods such as larch, Douglas fir or oak. Never use pressure-treated wood – its chemicals leach into your vegetables.
When can I start sowing? Thanks to the heat from decomposition a raised bed is 5–8 °C warmer than garden soil. Under a fleece or cold-frame top you can often sow as early as March.
Does a raised bed need a foundation? A concrete foundation is not necessary. All that matters is a level, load-bearing base. On soft ground, walkway slabs as support points are enough; on patios, use spacers for water drainage.
Sources: Gärtnerei Bock "Hochbeet-Ratgeber", LWG Bayern, kraut&rüben Magazin
Comments (0)
Sign in to comment.
📖 You might also like
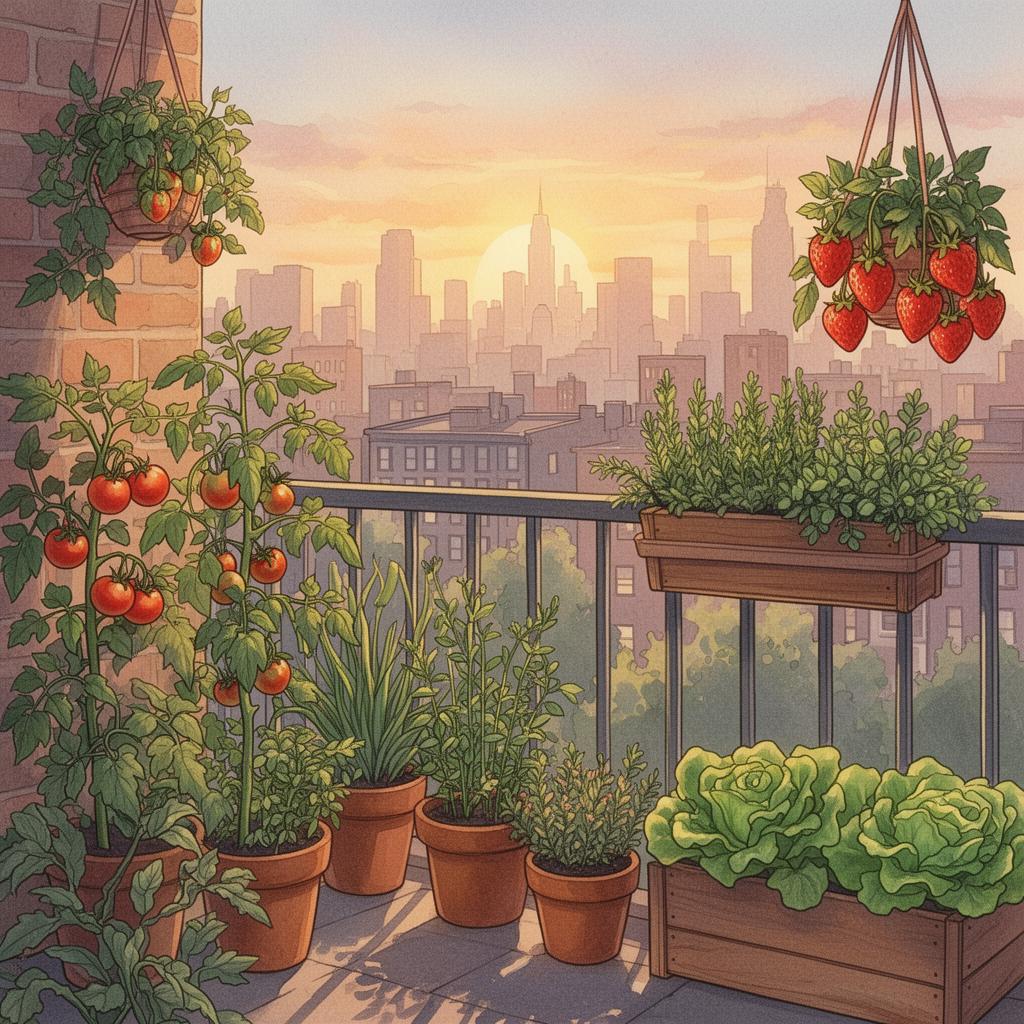
From Balcony to Self-Sufficiency: A Realistic 3-Year Plan
How a family in Vienna started with a 6 m² balcony and, after three years, grows 40% of its own vegetables. An honest field report with numbers, mistakes and lessons learned for the DACH region.
Read more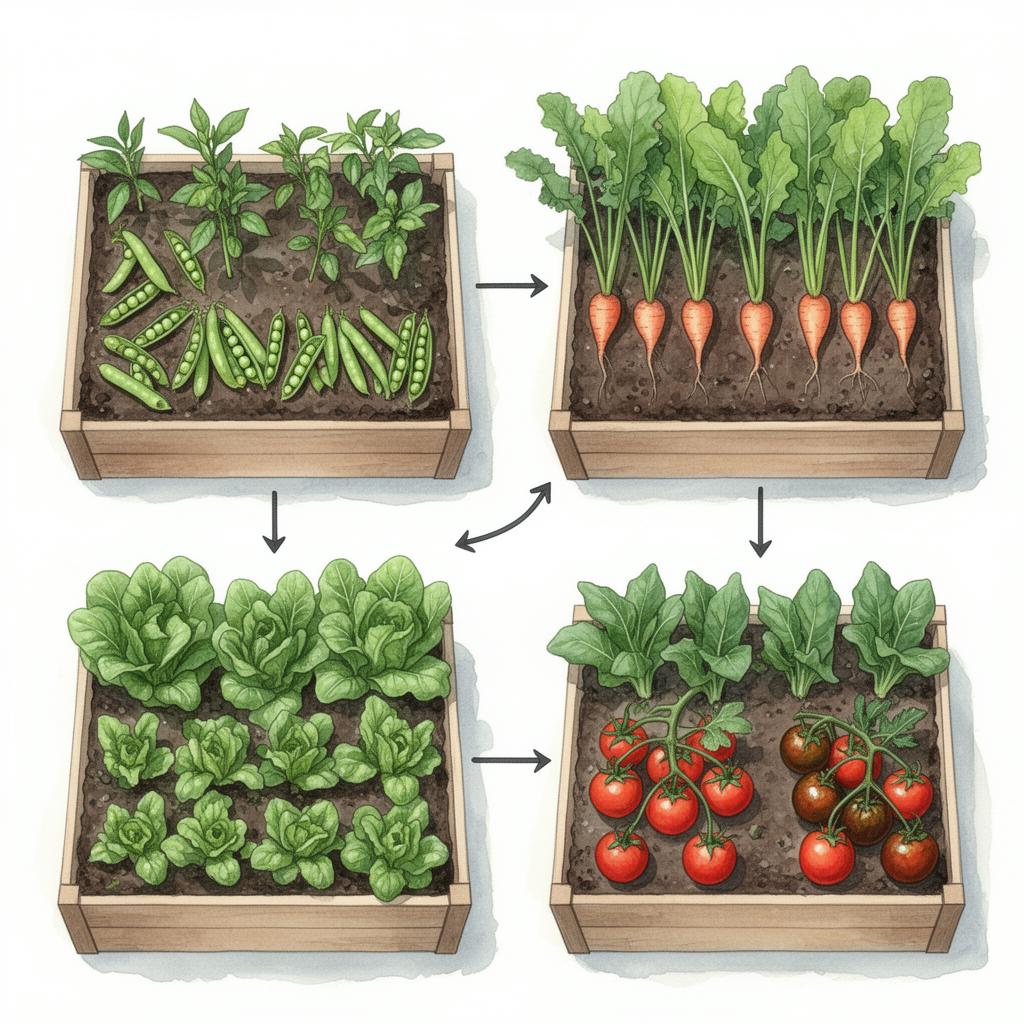
Which app to plan a vegetable garden? The honest 2026 comparison
You want to plan your vegetable beds digitally but aren't sure which app is right? This comparison shows what really matters – from companion planting and the sowing calendar to data privacy – and which type of gardener each solution suits.
Read more
Ozone Stress in the Garden 2026: The Invisible Heat Damage on Tomatoes, Beans and Leafy Greens
When heat, strong sun and stagnant air come together, ground-level ozone can damage plant cells. Learn how to recognise ozone stress, separate it from drought, and protect your beds.
Read more